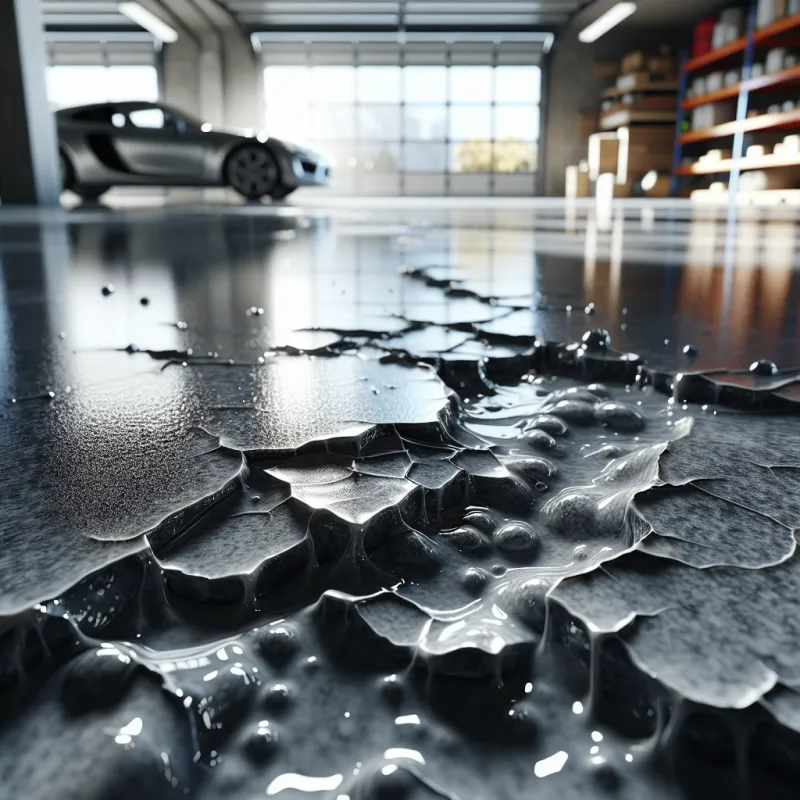
Day One to Done: A Tampa Homeowner's Complete Guide to the Epoxy Floor Installation Timeline
One of the most common questions homeowners ask before committing to an epoxy floor project is deceptively simple: How long is this going to take? The honest answer is that it depends—but "it depends" is far more useful when you understand precisely what it depends on. At Premier Epoxy Tampa, we believe transparency about the installation process is just as important as the quality of the coating itself. This guide walks through every stage of a residential epoxy project, from the first site visit to the day you move your belongings back in.
Phase 1: Initial Assessment and Project Planning (Days 1–3)
Before a single tool touches your floor, a qualified technician needs to evaluate the concrete substrate. This assessment is not a formality—it is the foundation upon which every subsequent decision rests.
During the initial visit, the technician will check for moisture vapor transmission using a calcium chloride or relative humidity probe test. In Tampa's subtropical climate, elevated moisture readings are common, particularly in slab-on-grade construction. A floor with a moisture emission rate above acceptable thresholds requires a moisture-mitigation primer, which adds both time and material cost to the project.
The technician will also look for existing coatings, adhesive residue, cracks, spalling, and surface contaminants such as oil or efflorescence. All of this information shapes the preparation strategy and the final timeline estimate.
Typical duration: One to two business days for testing and written proposal delivery.
Phase 2: Surface Preparation (Day 1 of Installation)
Industry professionals consistently identify surface preparation as the single most important determinant of epoxy adhesion and longevity. A coating applied to an inadequately prepared surface will fail—not immediately, but inevitably.
For most residential projects, preparation involves diamond grinding or shot blasting the concrete to achieve a surface profile equivalent to 60–80 grit sandpaper. This mechanical abrasion opens the concrete's pores, allowing the epoxy to penetrate and bond at the molecular level rather than simply sitting on top.
Cracks and divots are filled with a polyurea or epoxy filler and allowed to cure before coating begins. In one recent project—a 650-square-foot garage in Carrollwood—the prep phase revealed a network of hairline cracks across nearly a third of the slab. Addressing those cracks added approximately four hours to the preparation timeline but prevented what would have otherwise been visible telegraphing through the finished coating.
Typical duration: Four to eight hours, depending on square footage and the extent of repairs needed.
Phase 3: Primer and Base Coat Application
Once the slab is clean, profiled, and repaired, the first coat of epoxy is applied. For standard residential systems, this is typically a 100% solids epoxy primer that penetrates the prepared concrete and establishes a chemical bond.
Application method—roller, squeegee, or sprayer—varies based on the product viscosity and the coating system specified. After application, the primer requires a minimum recoat window, typically four to eight hours at standard Tampa temperatures, before the next layer can be added.
If the project calls for a metallic or decorative flake finish, the base coat is often pigmented, and decorative elements are broadcast into the wet coating during this phase.
Typical duration: Two to four hours of application time, followed by a four-to-eight-hour recoat window.
Phase 4: Broadcast Layer and Intermediate Coats (Where Applicable)
Projects specifying vinyl color flake systems—among the most popular choices for Tampa garages and laundry rooms—include a broadcast phase in which decorative flake chips are scattered across the wet base coat. Once cured, excess flake is removed and the surface is scraped flat before the next coat is applied.
Multi-coat systems, such as those used in high-traffic entryways or areas subject to chemical exposure, may require two intermediate coats with recoat windows between each. A homeowner in South Tampa recently had a three-coat system installed in a 400-square-foot garage and pool equipment room. Because the project was staged across two days to accommodate recoat windows, the total installation period was approximately 36 hours of elapsed time.
Typical duration: One to two additional days for multi-coat systems.
Phase 5: Topcoat Application
The topcoat—typically a polyaspartic or polyurethane clear coat—is the layer that determines the floor's final sheen level, chemical resistance, and UV stability. Polyaspartic topcoats are particularly well-suited to Florida's intense UV exposure because they resist the ambering and yellowing that standard epoxy topcoats can develop over time.
The topcoat is applied as a thin, even film and must be allowed to cure undisturbed. Any foot traffic, dust contamination, or debris introduction during this phase can compromise the finish.
Typical duration: One to two hours of application time.
Phase 6: Cure Time and Return-to-Service Windows
This is where homeowner expectations most frequently diverge from reality. Epoxy floors do not cure the moment they appear dry. There are two distinct thresholds to understand:
- Light foot traffic: Most systems allow careful foot traffic—no shoes with hard soles, no dragging—within 12 to 24 hours of topcoat application.
- Full vehicle and heavy load bearing: Complete cure sufficient for parking vehicles or repositioning heavy furniture typically requires 48 to 72 hours, and in some cases up to seven days for full chemical cure.
Temperature and humidity directly affect these windows. During Tampa's summer months, when ambient temperatures remain elevated even overnight, cure times may accelerate slightly. However, high humidity can introduce complications with certain coating chemistries, which is one reason professional applicators monitor conditions carefully throughout the process.
What the Full Timeline Looks Like by Project Size
| Project Type | Square Footage | Estimated Elapsed Time |
|---|---|---|
| Single-car garage | 200–300 sq ft | 1.5–2 days |
| Two-car garage | 400–600 sq ft | 2–3 days |
| Garage + interior spaces | 700–1,200 sq ft | 3–4 days |
| Whole-home interior floors | 1,500+ sq ft | 4–6 days |
These estimates assume standard floor conditions. Significant concrete repair, moisture mitigation requirements, or multi-coat systems will extend the timeline accordingly.
Planning Around the Project
Homeowners should plan to vacate the coated areas entirely during installation and for the return-to-service window that follows. For garages, this typically means parking vehicles elsewhere for two to three days. For interior spaces, furniture should be removed and relocated before the crew arrives.
Premier Epoxy Tampa provides every client with a written project schedule prior to installation, specifying each phase, its expected duration, and the return-to-service milestones. Knowing the timeline in advance allows homeowners to plan around the project rather than be disrupted by it.
The goal is not simply a beautiful floor—it is a process that respects your time, your home, and your investment.